With just a few clicks, you’re ready to sell online through your Mailchimp landing page, powered by Stripe. But wait, there’s more – Stripe handles payments for your Mailchimp Store seamlessly. And the best part? Every sale adds new contacts to your audience, primed for targeted marketing strategies that drive growth and boost your bottom line.
Let’s dive in to our easy how-to guide for Mailchimp Stripe Integration and maximize your online selling potential!
Setting-up Your Mailchimp Stripe Integration

Before diving in, here’s what you need to know:
Accept additional terms of service from Mailchimp and Stripe’s Connected Account Agreement before connecting.
Here’s how it works:
When you integrate Mailchimp with Stripe, customer information syncs to your Mailchimp audience. Those who opt-in for email marketing become subscribed contacts, while others are marked as non-subscribed.
10 Easy Steps in Integrating Your Mailchimp to Stripe
To link your Stripe account with Mailchimp and select the desired audience for synchronization, follow these simple steps:
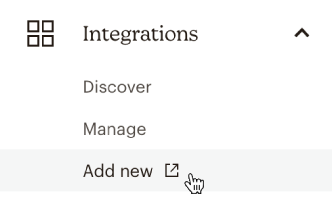
1. Go to Integrations and click Add new.
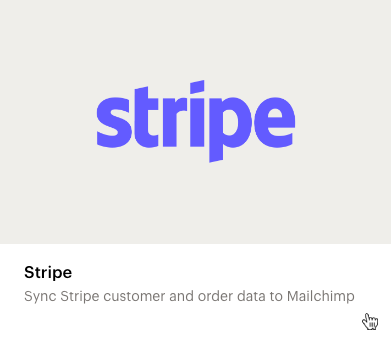
2. Scroll down and choose Stripe.
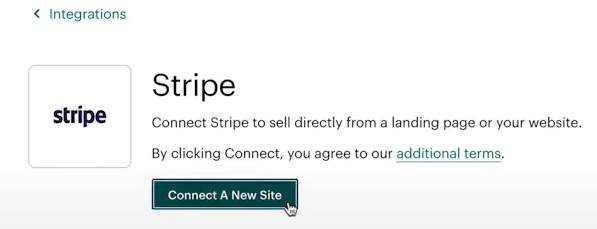
3. Click Connect a New Site.
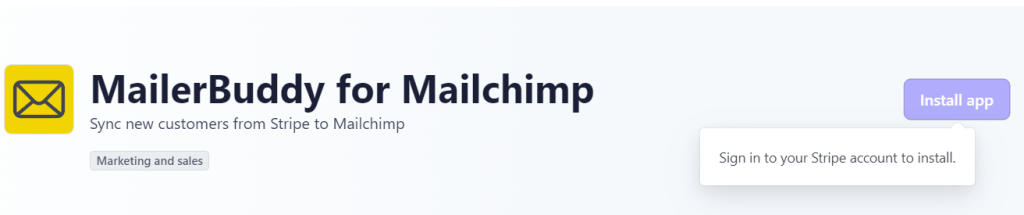
4. On the Stripe App Marketplace, hit Install app.
Note: You may need to sign in to Stripe.
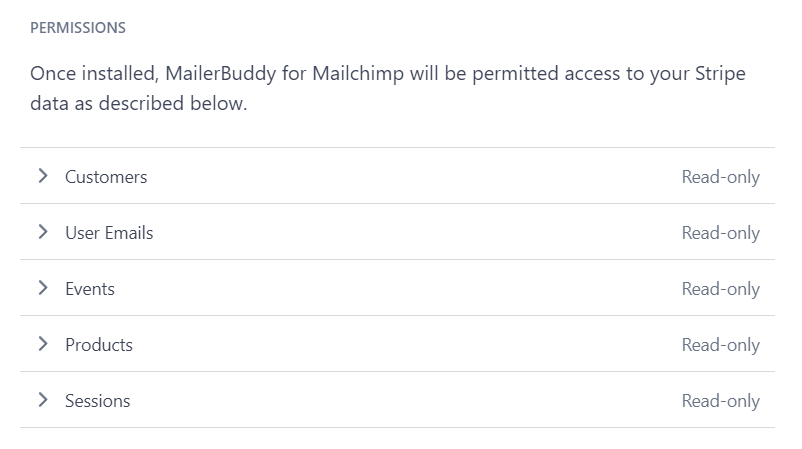
5. Review data permissions for Mailchimp and click Install.
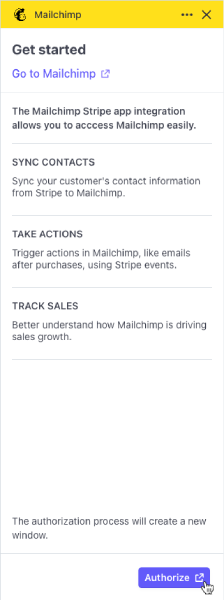
6. Once installed, click View app.
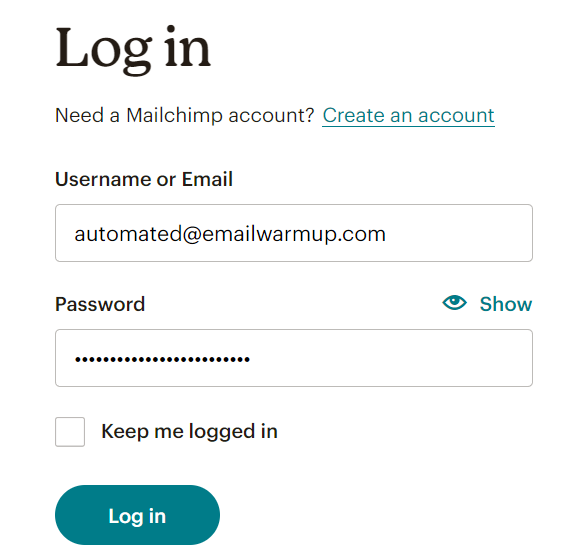
If by any chance, it’s your first time to use stipe, then you need to create an account first and use your email address. Follow next steps, until your Stripe account is already connected to Mailchimp.
Note: Your customers aren’t required to set up an account to complete a purchase.
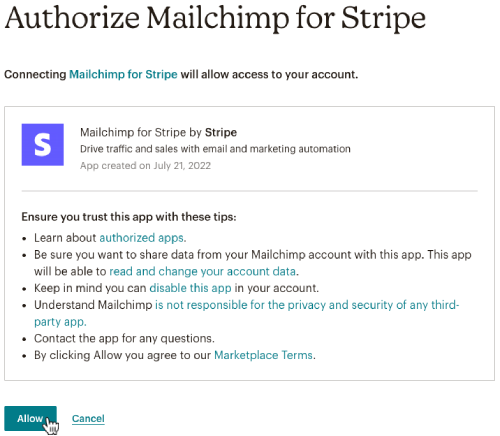
9. Click Allow on the Authorize Mailchimp for Stripe page.
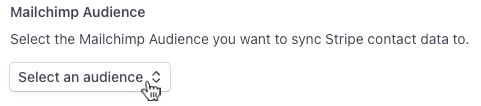
10. Select the audience you wish to sync.
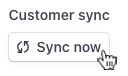
Under Customer sync, click Sync now to finalize setup.
Congratulations! With Mailchimp and Stripe now linked, you’re set to synchronize customer and order data effortlessly.
If you integrate Stripe with Mailchimp, you can incorporate new Stripe products into your Mailchimp shoppable landing pages. However, products created in Mailchimp won’t be accessible for review or editing within Stripe; they’ll only exist within Mailchimp. Stripe is solely used for payment processing in this scenario.
Managing Products with Mailchimp and Stripe Integration
Once Stripe is connected to Mailchimp, you can easily add new products or update existing ones.
Add New Product
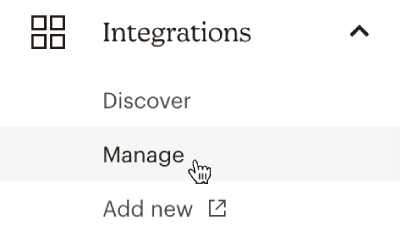
- Go to Integrations and select Manage.
2. Choose Manage your sites.

3. If you have multiple sites, select your Stripe account from the Switch site drop-down.
4. Under Product Settings, click Manage Products.

5. Click Add.

6. Enter your product’s name in the Title field.
7. Upload an image by browsing your computer or dragging and dropping it.

8. Provide a description of the product.
9. Set the price (minimum $1) in the Price field.
10. Click Save.
Edit a Product
To edit a product in Mailchimp and automatically sync changes with your Stripe account, follow these simple steps:
- Go to Integrations and select Manage.
- Choose Manage your sites.

3. If you have multiple sites, pick your Stripe account from the Switch site drop-down.
4. Under Product Settings, click Manage Products.

5. In the pop-up modal, search for the product you want to update and click Edit.
6. Make the necessary updates to the Title, Image, Description, or Price fields.
7. Click Save.
Refresh a Product
- Go to Integrations and select Manage.
- Choose Manage your sites.

3. If you have multiple sites, select your Stripe account.
4. Under Product Settings, click the drop-down next to Manage Products and choose Refresh Products.

This ensures your Mailchimp products are up-to-date with those in your Stripe account.
MailChimp Champ

Congratulations! You’ve successfully integrated Mailchimp and Stripe, setting the stage for increased business sales. However, there’s one crucial aspect we can’t overlook: email marketing. Without it, we miss out on opportunities to reach our target audience effectively.
Yet, email marketers face a significant hurdle: emails ending up in spam folders. Thankfully, we have a reliable ally – automated email warmup.
Why is email warm up an email marketer’s ally?
Automated email warm-up guarantees reliable inbox delivery by gradually earning trust from email service providers. Through email warmup, fostering a positive sender reputation is achievable, and these processes create a strong foundation for effective communication, boosting engagement, sales, and ultimately, business journey triumph.
Here’s for more success Mailchimp champs!
Leave a Reply