Integrating powerful platforms of Shopify and Mailchimp opens up a world of possibilities for e-commerce success. From targeted marketing to streamlined processes, learn how to maximize your business potential with this seamless integration.
Still unsure how to connect Mailchimp to Shopify? Let’s simplify it and unlock your online store’s full potential!
What to Consider Before You Connect Mailchimp to Shopify?

- You need a Shopify account to connect with Mailchimp, linking one Shopify store to your Mailchimp audience.
- You’ll need manager access or higher in Mailchimp to make any changes.
- Pause any welcome emails or automations tied to your Mailchimp audience.
- Consider turning off the preselect sign-up option in your store’s checkout process for better contact management.
How it Works?
- When you link Mailchimp with Shopify:
- Customer details like email, name, orders, and custom info are updated in Mailchimp.
- Some customer actions, like visited pages, are also sent to Mailchimp.
2. You’ll keep gathering contacts as new customers buy. Orders will sync automatically, except for promo codes which take a few hours.
3. You can manually sync anytime from your Shopify store’s Mailchimp app page.
10 Easy Steps in Connect Your Mailchimp to Shopify
1. Log in to your Shopify account.

2. Click on “Apps” and search for Mailchimp.

3. Choose the Mailchimp app and click “Add App.”

4. Review privacy details and install the app.

5. Log in to your Mailchimp account.
Create one if you don’t have it.
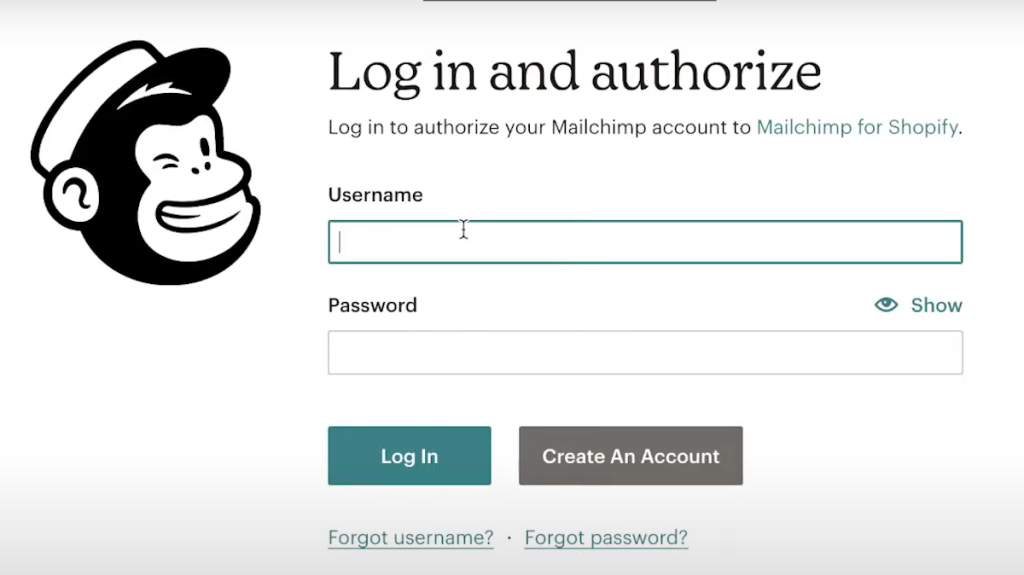
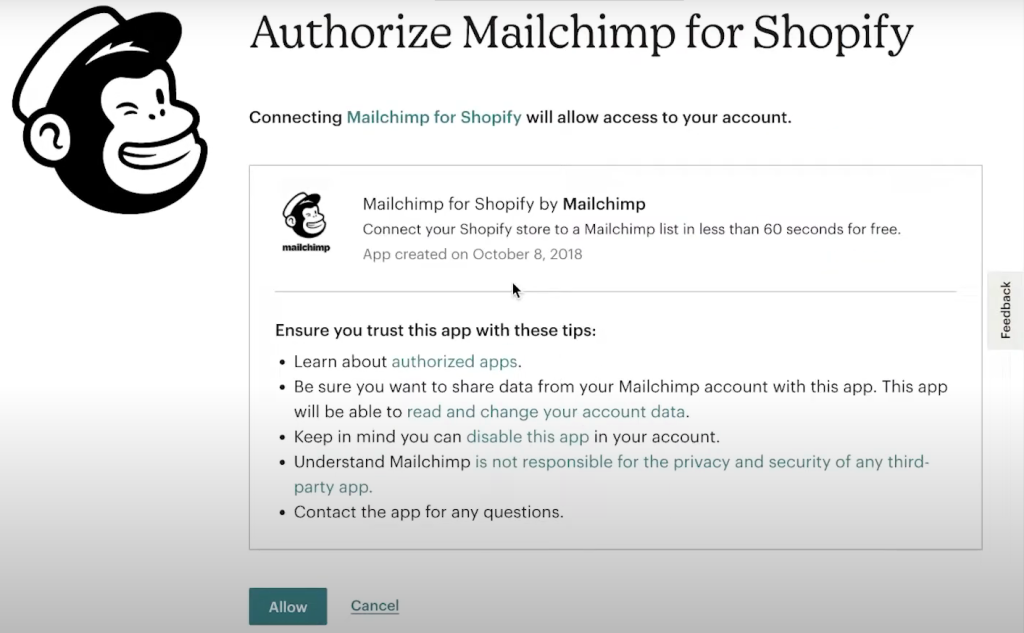
6. Allow the connection between Shopify and Mailchimp.
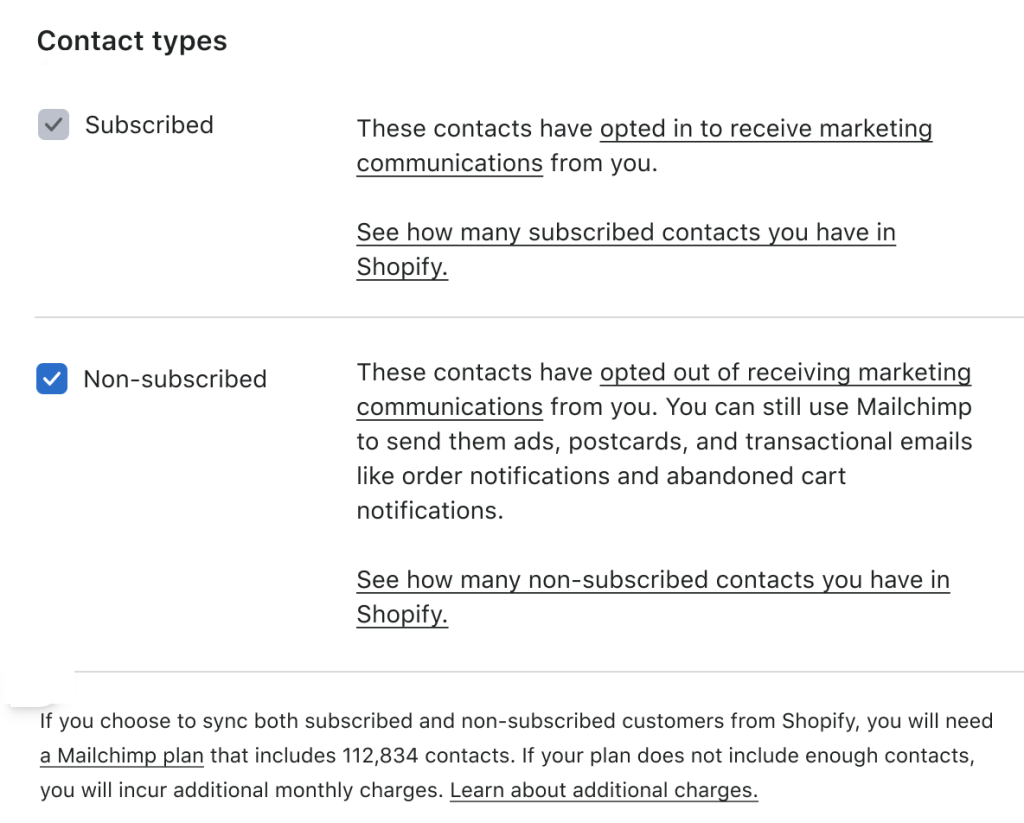
7. Review and adjust sync settings if needed.
- If you’re okay with the default audience, no action is needed. Otherwise, choose the audience you want to sync with.

- Confirm the contact types you want to sync.
- Optionally, sync all tags or select individual ones.

- Optionally, map data fields from Shopify to Mailchimp by editing the fields.
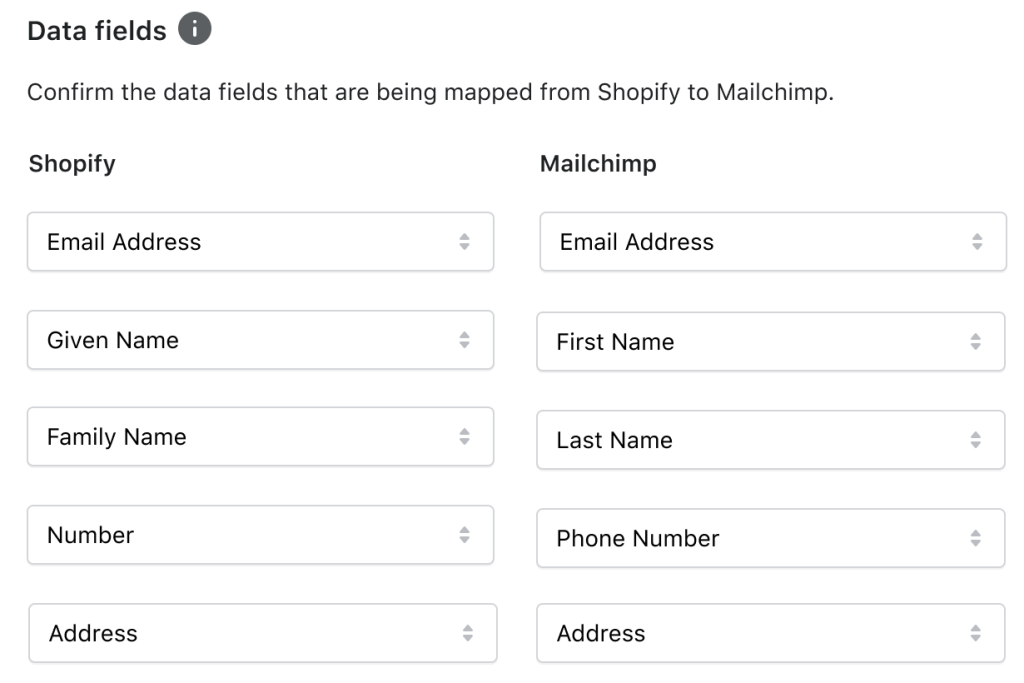
8. Click “Sync now” to start syncing.
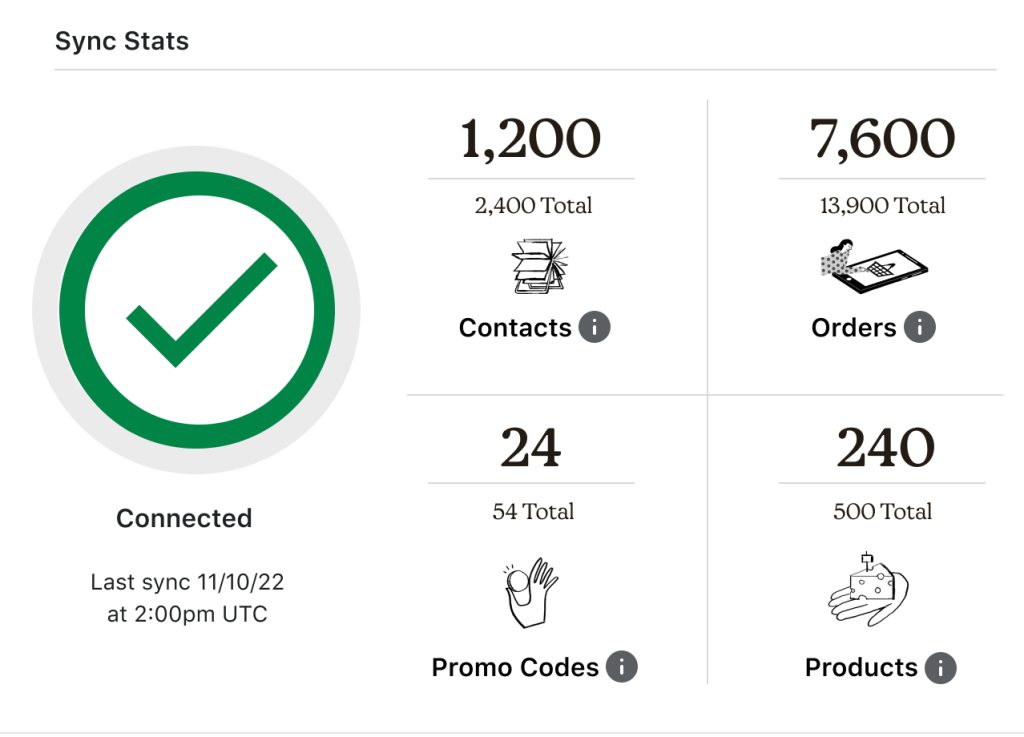
After connecting:
- Remember to recreate any abandoned cart automations.
- If you paused welcome emails or automations, you should set them up again.
- Disable other notifications to avoid duplicates.
- Note that orders are attributed to the latest clicked campaign.
That’s it! Your Shopify data will sync to Mailchimp.
Syncing SMS Subscribers with Mailchimp on Shopify
1. Log in to your Shopify store.

2. Click on “Apps” and select “Mailchimp: Email Marketing”.


4. Choose the date for data syncing or select a custom date, then click “Sync now“.

5. Confirm the sync on the pop-up modal.
6. Once synced, update your Shopify checkout settings and store privacy policies
Allow SMS subscriptions during checkout.

To enable SMS phone collection, update checkout settings. To update store policies, add them in.

That’s it! After completing these steps, you’ll be ready to use SMS marketing with Mailchimp on Shopify.

Once you’ve linked Mailchimp for Shopify, it’s essential to visit the Manage Integrations page in your Mailchimp account. Here, you can see how your store is connected and access important details.
What’s Next?
This is where the magic happens – you can set up powerful e-commerce features like abandoned cart automation and order notifications.

Connecting Shopify to Mailchimp opens up a world of possibilities for e-commerce success. However, to truly harness the power of this integration, it’s crucial to prioritize automated email warm up. By ensuring reliable inbox delivery, automated email warm-up lays the foundation for effective communication.
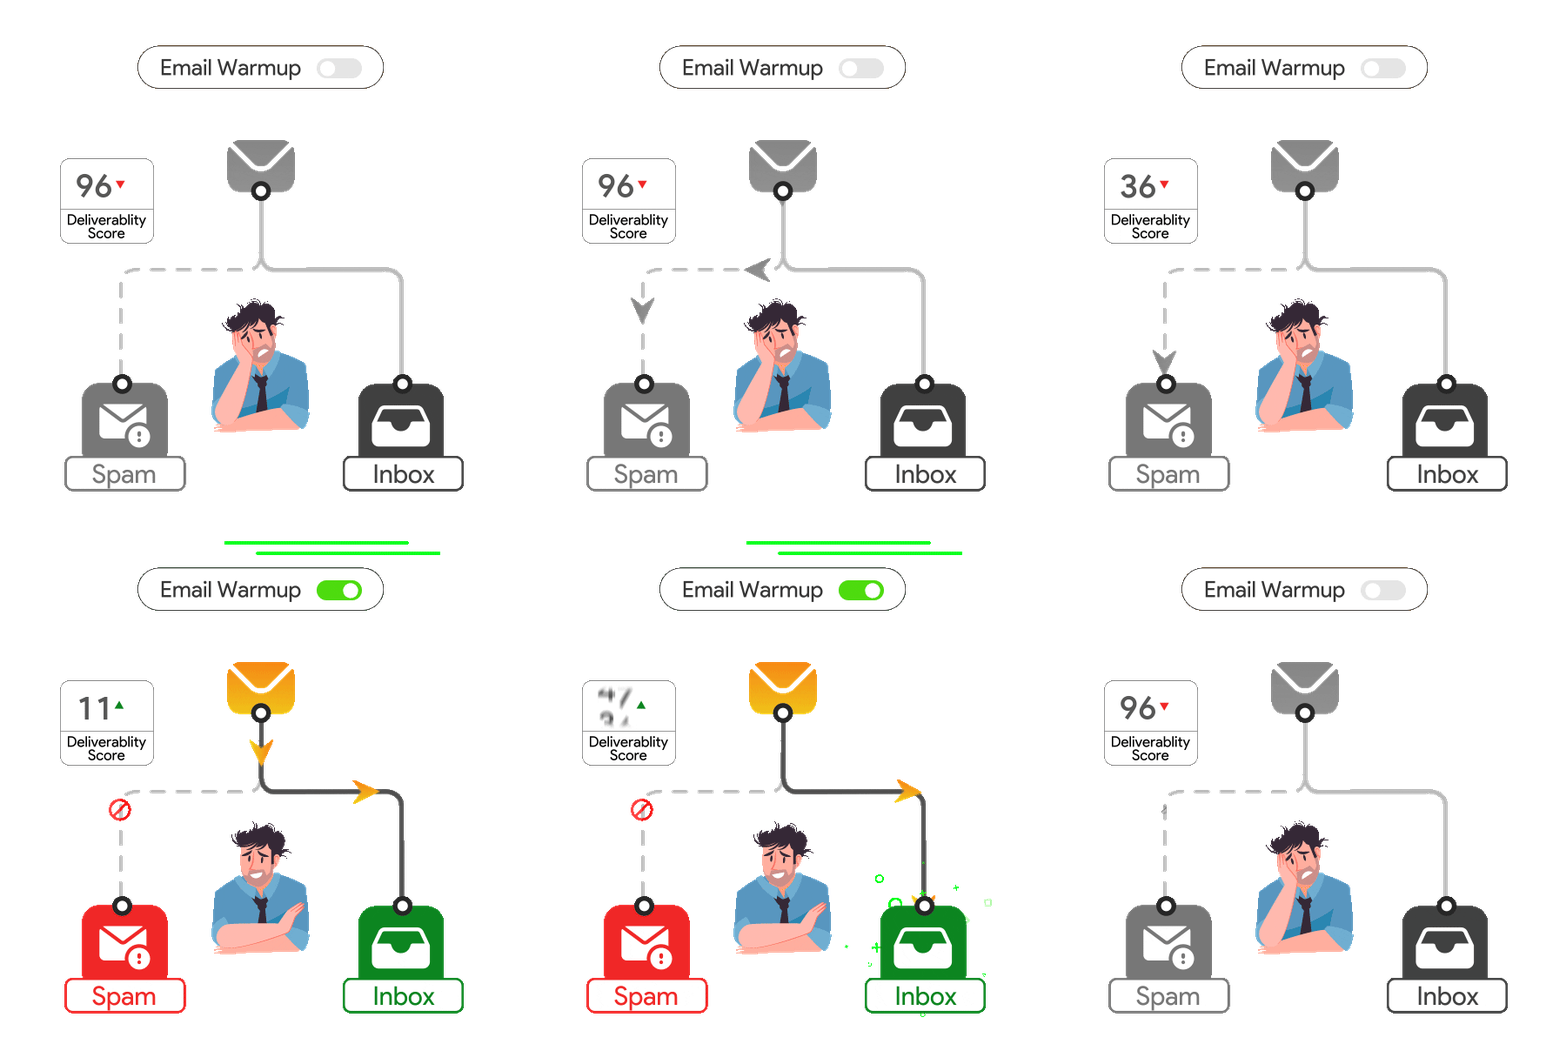
Embracing automation in email marketing by using email warmup is the key to unlocking the full potential of your online store and driving lasting engagement and sales.
Here’s for more success in your e-commerce journey!
Leave a Reply