Are you seeking a seamless way to enhance your email security?Understanding DKIM CNAME is crucial for anyone managing email infrastructure. It streamlines authentication, minimizing the risk of email spoofing and phishing attacks. By delegating key management, domain owners can ensure robust security without cumbersome manual processes.
Stay informed to safeguard your digital communications effectively and maintain trust with your recipients. Let us delve more about this!
What is DKIM Cname?

A DKIM CNAME record (short for Canonical Name record) is a type of DNS record that associates an alias with the actual domain name it represents.
Typically, CNAME records are used to link subdomains like www or mail to the domain where their content is hosted. For instance, a CNAME record can connect the web address www.example.com to the actual website for the domain example.com.
Instead of directly adding the public key to the DNS as a TXT record, which was the traditional method, some email service providers offer the option to publish the DKIM public key using a CNAME record.
What is the difference between Cname and TXT record?
CNAME redirects one domain to another, while TXT stores text information about a domain. They are both types of DNS (Domain Name System) records used to manage domain names, but they serve different purposes:
| Feature | CNAME Record | TXT Record |
|---|---|---|
| Purpose | Alias one domain name to another | Store arbitrary text-based information associated with a domain |
| Usage | Domain aliasing, redirection | Domain ownership verification, email authentication (SPF, DKIM, DMARC), providing descriptive information |
| Example | www.example.com points to example.com | SPF record: "v=spf1 include:_spf.example.com ~all" |
| Implementation | Redirects requests from one domain to another | Stores text-based data for various purposes |
In summary, while both CNAME and TXT records are essential components of DNS management, CNAME records are used for domain aliasing and redirection, whereas TXT records are used for storing textual information associated with a domain, such as verification, authentication, or descriptive data.
How to Set up CNAME Records?
To update your domain’s DNS records, you might need to add a CNAME record through your domain host. This is often necessary for tasks such as domain verification or password resets, and it’s also common when mapping your website to a new location.
Step 1: Access your Domain Host

Identify your domain host. Next, open a new tab or window in your browser and log in to your domain host’s website.
Step 2: Obtain your unique CNAME record
You receive a distinctive CNAME record for your domain upon setting up Google Workspace or resetting your admin password.

Step 3: Incorporate the CNAME record into your domain’s DNS settings
If you’re unfamiliar with CNAME records, reach out to your domain host for assistance. You can utilize the provided email template when contacting their support team.
To add the CNAME record to your domain host, adhere to the following steps. Refer to your domain host’s documentation for more detailed guidance:
- Navigate to your domain’s DNS records.
- Introduce a new record into your DNS settings, specifying CNAME as the record type.
- Return to the initial window or tab and copy the contents of the Label/Host field.
- Paste the copied contents into the Label or Host field within your DNS records.
- Go back to the original window or tab and copy the contents of the Destination/Target field.
- Paste the copied contents into the Destination or Target field within your DNS records.
Your record should resemble one of the tables below:

- Save your record.
- Note that CNAME record changes might take up to 72 hours to be fully effective, although typically they occur much sooner.
- Return to the setup or password reset panel in your other browser window and proceed with the subsequent steps.
Why DKIM CNAME is Important?
1. Email Deliverability

Many email providers use DKIM authentication as a factor in determining whether an email should be delivered to the recipient’s inbox, spam folder, or rejected altogether. Without a valid DKIM Cname, emails may be more likely to be marked as spam or rejected by recipient servers.
2. Protection Against Spoofing

DKIM helps prevent email spoofing, where malicious actors forge the sender’s email address to trick recipients into believing the message is from a legitimate source. By validating the DKIM cname, recipient servers can confirm that the email actually originated from the stated sender domain.
3. Message Integrity

DKIM ensures that email messages haven’t been altered or modified in transit. If a message’s DKIM cname fails validation, it indicates that the message may have been tampered with, and the recipient server can take appropriate action, such as quarantining or rejecting the message.
4. Reputation and Trust

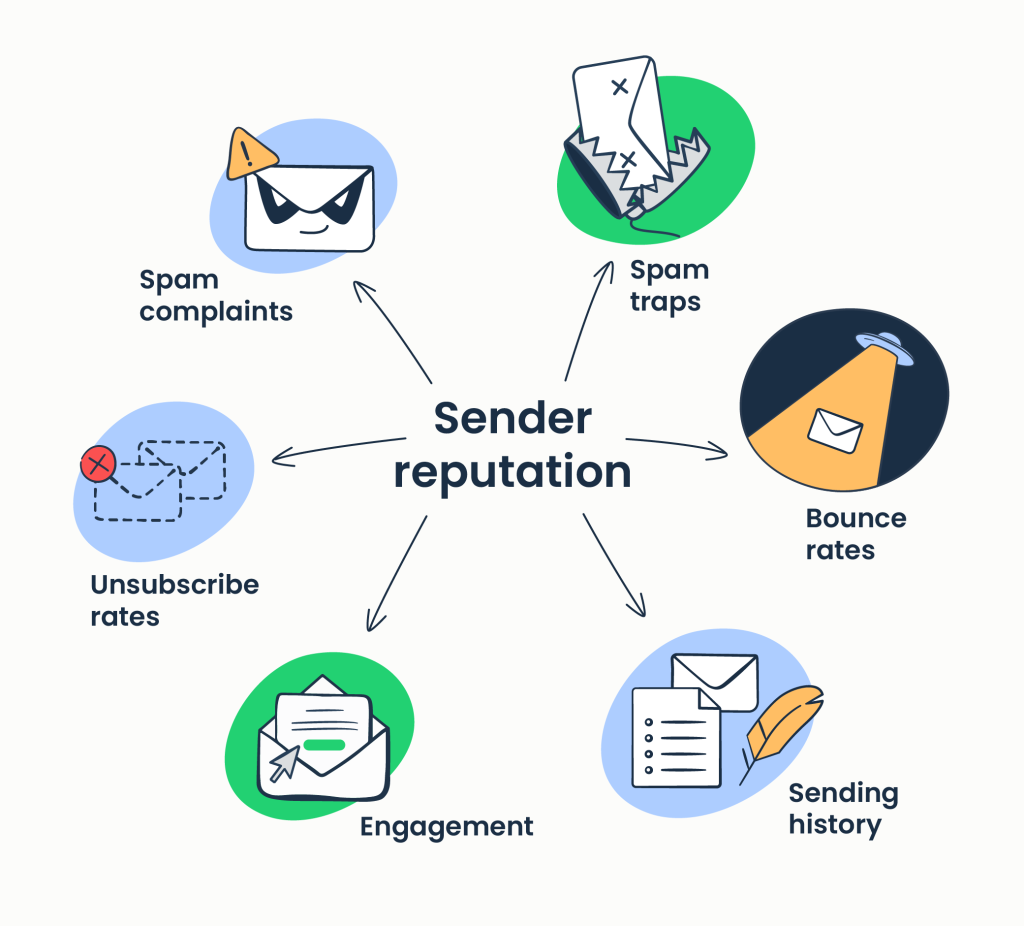
Implementing DKIM Cname demonstrates to email providers that you take measures to authenticate your email messages, which can positively impact your sender reputation. A good sender reputation improves the chances of your emails being delivered to recipients’ inboxes and not being flagged as spam.
Next Crucial Step after Setting Up DKIM Cname
Implementing DKIM with a CNAME record stands as a crucial step for any email marketer aiming to bolster their email authentication and deliverability. By utilizing DKIM, we authenticate our emails, protect against spoofing, and enhance trust with our audience, ensuring our messages reach their intended recipients’ inboxes. Now what’s next?
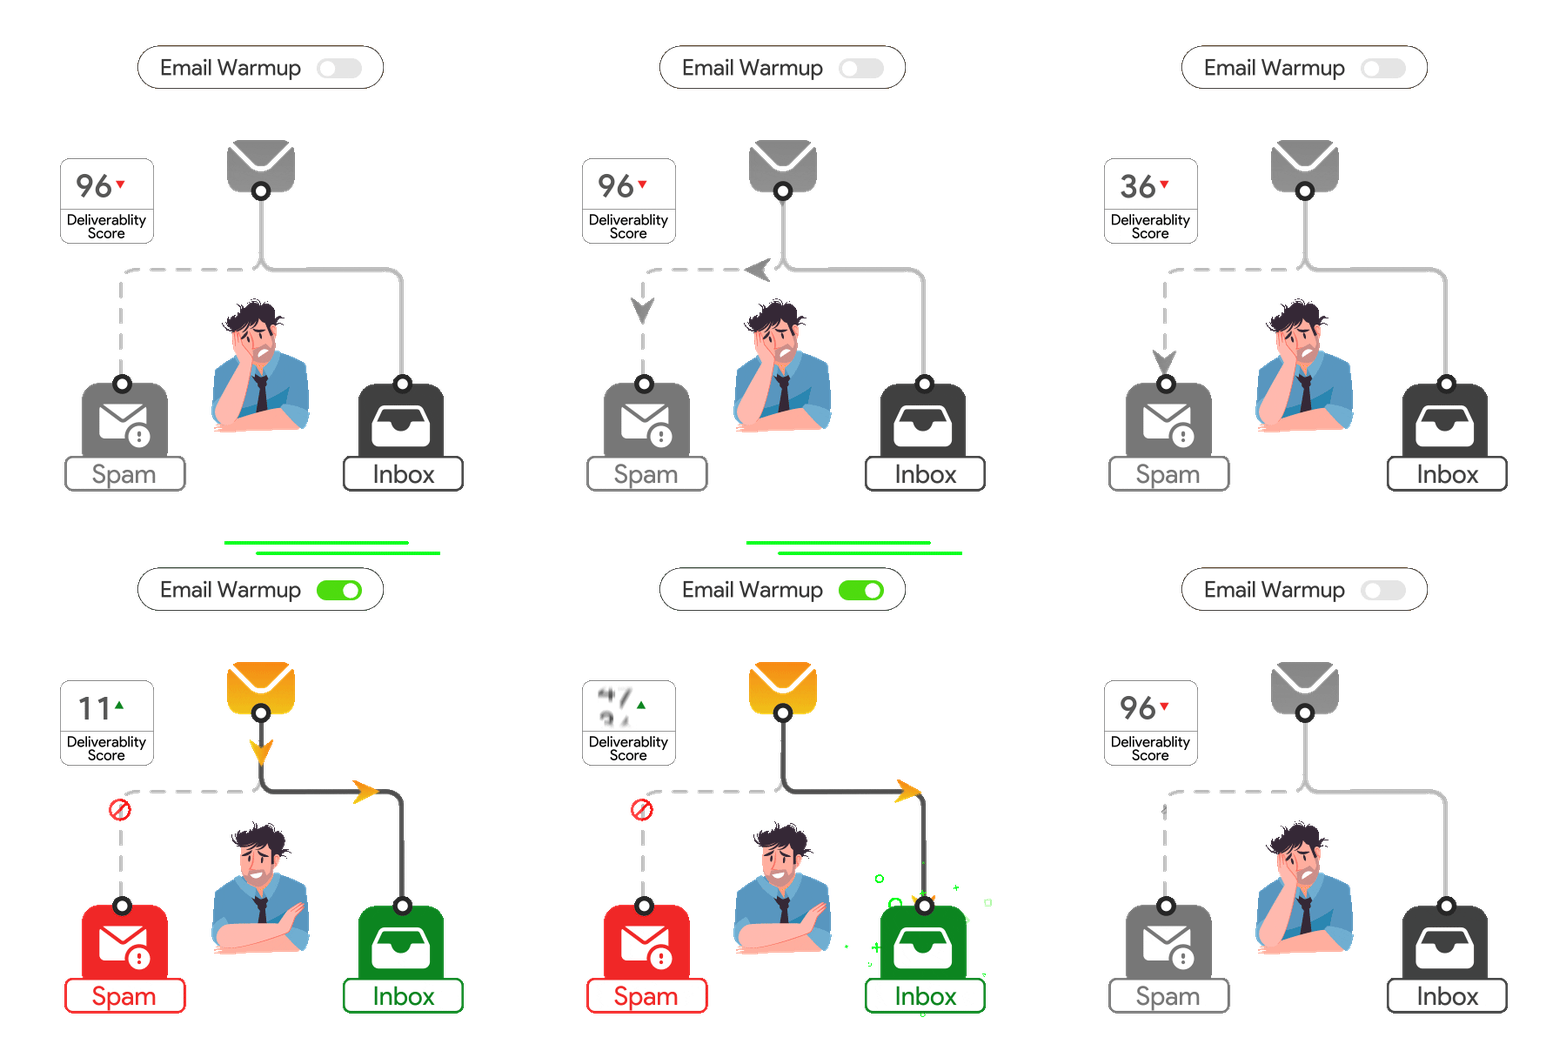
Moving forward, the next pivotal step involves automated email warm-up, a proactive strategy to gradually increase email sending volume while maintaining deliverability and sender reputation.

As we continue our journey in embracing automated email warm-up, remember that every step taken using email warm up is a testament to our commitment to delivering valuable content to our audience’s inbox.
Let’s embark on this journey together, armed with knowledge and determination to achieve email marketing excellence. Let email warmup helps you in crafting impactful campaigns and forging lasting connections with our subscribers!
Leave a Reply